Intro:
You’ve just been recruited to do some painting that you really don’t want to do. You can either wait around until you get some help, or just dive in and get this thing done?
If you accept the challenge, the following are some items that will help you make the most of your painting project, no matter how much experience you have.
I’m sure that you have the ability to do a great painting job, but the following are some key point to keep in mind. Hopefully you will find this useful.
Let’s get started with item no. 1.
No. 1.
Don't Panic
If you’re a perfectionist, one of the biggest worries about painting is that you do a perfect job. But, if you don’t paint for a living, your paint job may not be perfection straight out of the box. Don’t let that bother you. Any painting mistake can be fixed.
What will help put you at ease is having a solid game plan. If you plan out how you will attack the painting job first, you will feel more confident that the job will be done right.
Be patient with yourself, and try to have some fun transforming your house.
No. 2.
Answer A Few Questions
Before you get started, we may have to answer a few questions about our project. Here are a few for starters:
- How many gallons of paint will we need?
- Will we need to prime first?
- How much will the paint cost?
- Where should we start?
- Do I need to patch any wholes in the walls?
- Am I painting in high traffic areas that will need washing frequently?
- What about doors, closets, and windows? Will they need painted as well?
- What colors should I use?
These questions don’t have to be complicated to answer, but when you do answer them, you will have a good handle on how to tackle the job.

No. 3.
Color Selection
Color selection is such an individual topic that it is hard to use a one-size-fits-all approach.
For some, they like to pick colors that are in the same color family. Shades can change slightly, but all the colors complement each other. Then, using any of the colors will never shock the eye, or make it seem out of place.
If you don’t like that approach, and want a more bold approach, just make sure that you test your colors on a wall to see if it matches your expectations. You can get small samples of paint very inexpensively. There is nothing like seeing a live example to help with your decision.
The third options is to identify the colors schemes in other houses that you like to get ideas of what works, and what doesn’t. Some inspiration my hit you, and give you some ideas that you can use for your project.
Ultimately, it is totally your choice that matters.
Now let’s look at what we will need for supplies.
No 4.
Supplies
Regardless of the painting job facing you, there are some basic supplies that you will need. The following is a list to get you started:
- Primer – is a good start to any paint job, because a good primer will not only cover any color that was previously used, but will also bring out the true brilliance of the new paint that you’ve selected.
- Paint – is sold in many price ranges, and has different qualities usually denoted by price. But, the lower prices may not be that low if you have to use more of the paint to accomplish the professional results you are looking for. Sometimes, a high priced, higher quality paint, will not require as much work to get superior results.
- Stir sticks – are handy to use when paint has settled for a period of time. A good practice is to stir thoroughly before using. You want the paint to go on evenly.
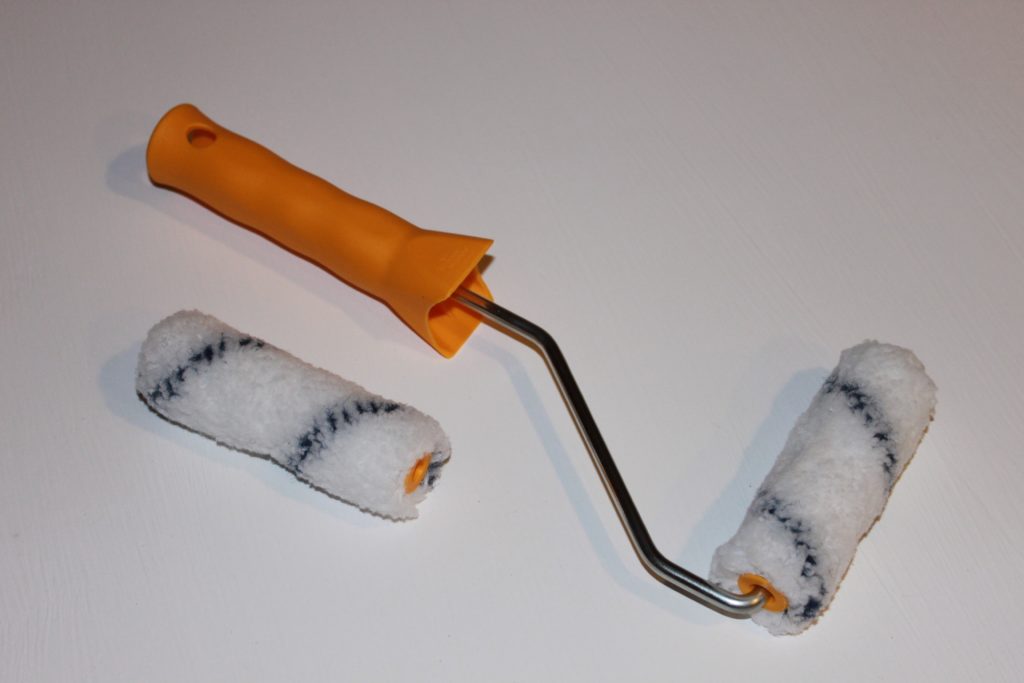
- Paint rollers – come in a variety of sizes and price ranges. Some have plastic handles, while others are wooden. Which ever you choose, most will do a decent job. Just beware that some rollers can allow the roller covers to slide out of place. Just keep an eye out for this.
- Roller covers – are very reasonable to purchase and come in various sizes. The 3/8th inch map will usually work best for most projects. There are different nap sized for different type of projects. I personally like the ½ inch nap, because it holds a little more paint which makes covering the walls much easier. But, that’s just a personal preference.
- Small paint brushes, for cutting in or touch-ups are good to have also. However, a 2 ½ inch to 3 inches trim brush with a stiff rating works great for trim work. Even though that size may seem big for trim, surprisingly, they are very easy to control.
- Paint trays, and if needed, a sturdy holder for your paint tray – is a good way to hold paint while applying it. You want a sturdy holder to prevent any accidental spillage. You can also use a 5 gallon bucket with a bucket grid for this job.
- Painters tape – is great when you are trying to produce a very straight edge between colors. The thickness of the tape depends of how much of an area you want to protect. When using tape, bleed-thru is a concern. So, make sure it is firmly press against the wall you are trying to protect.
- Rags – are an absolute essential. No matter how neat you may be, there is always a spot or two that needs wiped up. And it may be a good idea to always have a damp rag handy.
- Drop cloths – are essential to prevent any paint from getting on the floor and furniture. You can get canvas type drop clothes, or get the less expensive plastic type. The plastic type is lighter and easier to move around. The the canvas type lasts a lot longer.
- Sandpaper – may be needed depending on the type painting project you are doing.
- Tack cloth to remove any sanding dust – is a good thing to have to make sure your paint doesn’t get mixed in with any excess dust.
- Painter’s putty – is used for patching any wholes. They come in various type of drying times. Depending on the size of the holes that need repaired, you may consider purchasing a complete patch kit.
- Putty knife – is needed if you did not get one already included with your patching compound.
Other supplies like a step ladder, or a larger ladder may be needed, especially when painting ceilings. Also, an extension pole may be an added help.
This should be everything you need to get started. Next are some painting tips to keep in mind.

No. 5.
Painting Tips
Clear the room or move everything to the center of the room. Then you can cover everything with plastic or a drop cloth. Leaving about a 3 foot perimeter around the walls should be enough space for you to comfortably paint.
Do thorough prep upfront. Meaning, do a good job patching holes, clearing the room, taping, etc…
Remove receptacle covers and tape the screw to the cover to prevent loosing them. Use your painter’s tape to take the screws to the covers they belong to.
Wash the walls with a degreaser. Doesn’t have to be an expensive proposition. It’s just that degreasers help remove grease spots that are sometimes hard to detect.
Cover everything in plastic. Sometimes it can be tempting to overestimate your confidence not to drop paint on certain areas. But covering everything that you don’t want to get paint on is the best insurance policy.
Tape sections when absolutely straight lines are needed. Even though you may be extremely good at free-handing, sometimes taping is still the way to go. But this is another personal preference.
Prime first to make it easier to get the true colors of your new paint.
Start with lighter colors firsts. Obviously, it is easier to cover light colors with darker paint than it is to cover a darker color with lighter paint.
Paint ceilings first, walls second, then trim. This is the standard painting sequence to tackle an entire room.
Use Flat ceiling paint for ceilings, eggshell for walls, and semigloss for trim. This is a suggestion that a lot of painters use. A flat paint on the ceiling will hide many imperfections in the drywall on the ceiling. Plus, the painted surface of a flat paint will look great by causing a sense of dimension depending on the color of the walls.
Inspect your work frequently and fix any unsightly spots immediately. Fixing while the paint is wet is a lot easier than trying to blend it in on an already dried paint.
Pull off tape before paint dries completely. Doing this will prevent the tape pulling off big chunks of dried paint, causing you to do a lot of touch-up work.
Look for paint seepage behind the tape. Hopefully this does not happen. But if it does, do your touch-ups right away.
Let the first coat dry a minimum of 4 hours before applying a second coat. Use your own judgement though. On extremely hot days where the paint is drying very quickly, you can alter this guideline.
Buy a high quality paint if you want to reduce your labor time. Some higher quality paints truly only require one coat. This is a definite time saver.
Bonus Tip:
If you absolutely hate to paint, save yourself the trouble and call us.
We’ll do the whole job while you relax. No worries.
We’ll treat you right. After all, we’re Powells.